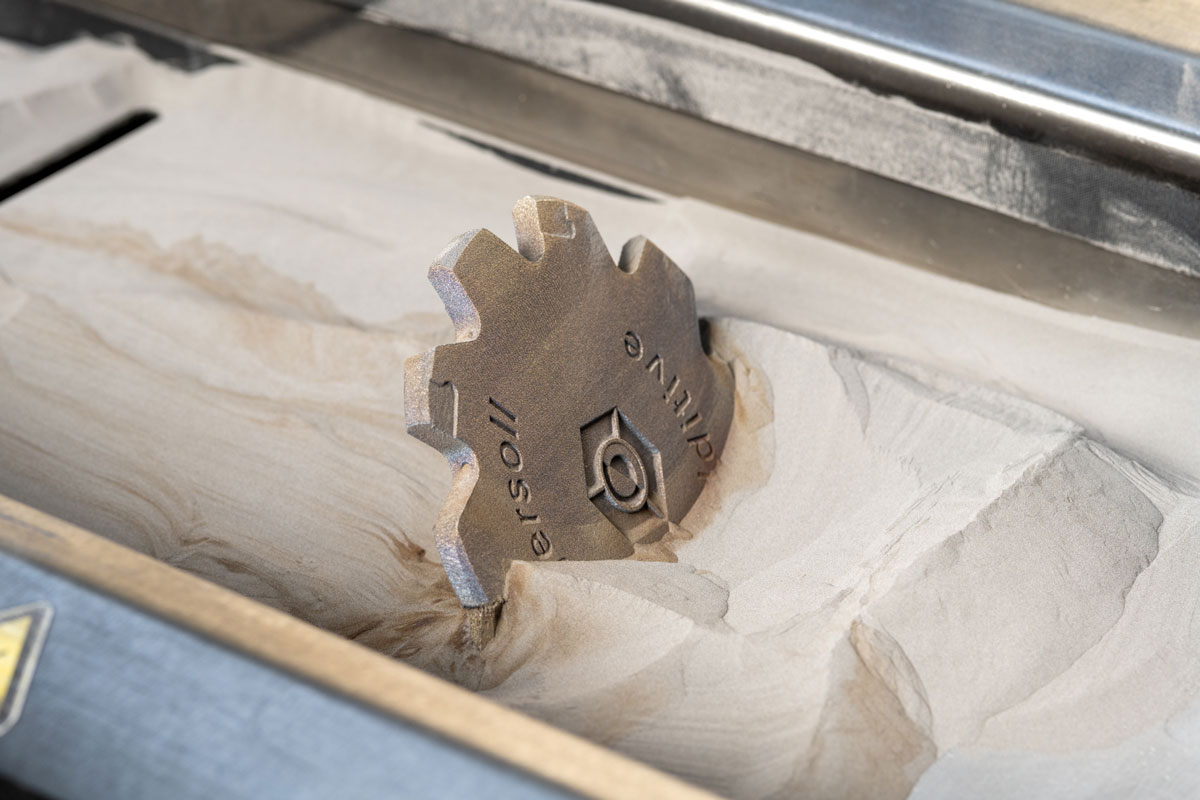
Additive Manufacturing
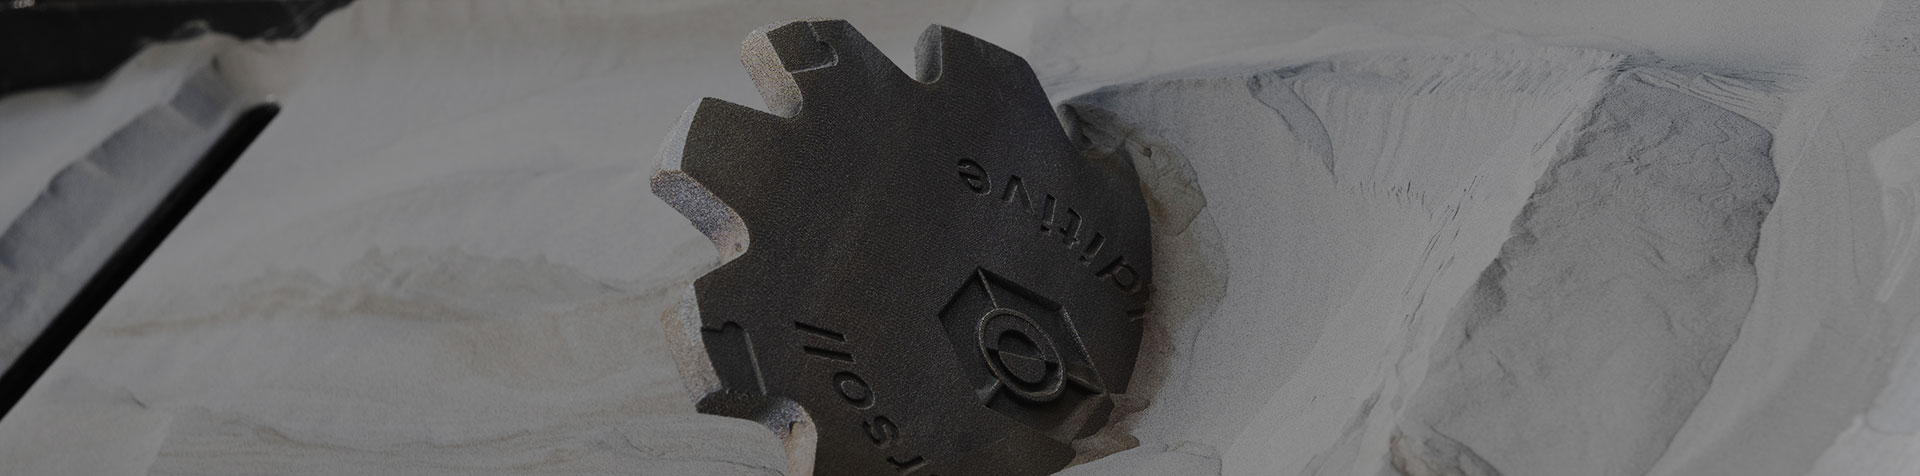


Ingersoll has the solutions you need for 3D-printed tools
Additive Process
Step 1: Design for Manufacturing
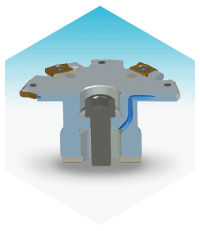
Each cutter is designed to suit your application and is developed for the unique process of 3D printing.
Step 2: Prepare for Printing
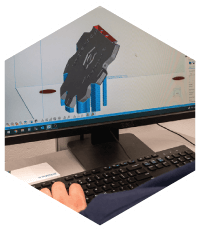
A manufacturing engineer reviews the cutter design and prepares the tool for 3D printing.
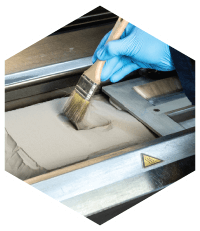
Step 3: Build/Print Process
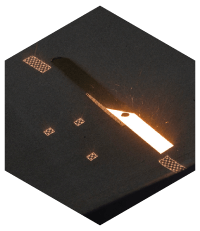
The machine is filled with powdered metal, and precisely controlled lasers melt the powder to produce the state-of- the-art cutter body.
Step 4: Removal and Check
Excess powder is removed and filtered for reuse. The printed tools are removed and inspected to verify material quality.
Step 5: Finishing Machine

The printed cutter body is finish-ground, machined to precise tolerances, and inspected to confirm accuracy.
Step 6: Finish and Ship
Completed tools receive a surface treatment, are packaged, and are ready for your use upon arrival.
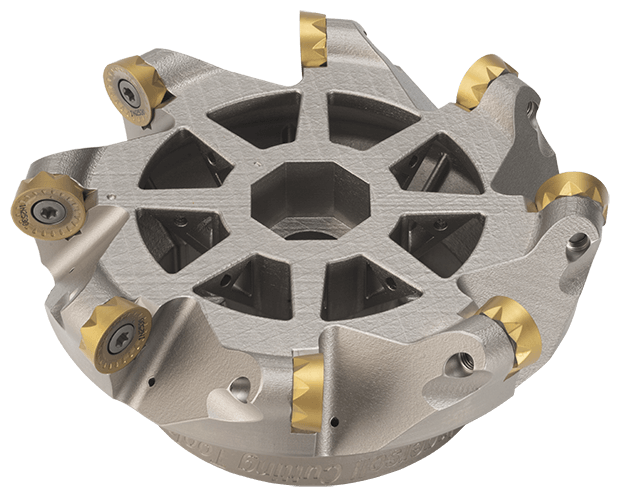
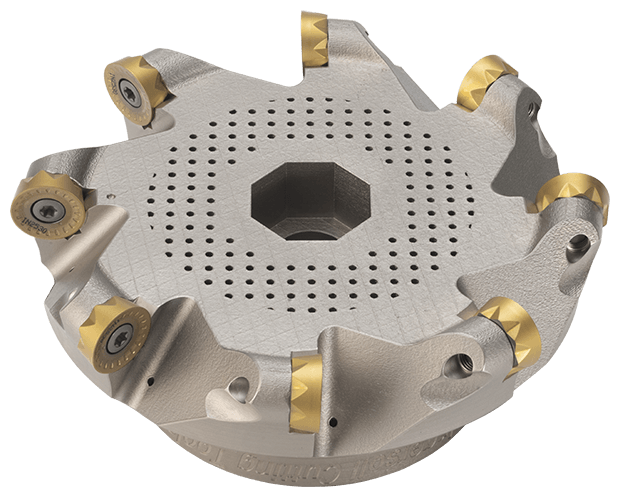
Benefits of additively manufactured tools
Creative, reliable Ingersoll engineering combined with additive manufacturing means high-performance tooling designed to meet your production needs.

Optimized tool designs for maximum rigidity.

Lightweight designs for operator safety and to suit your machine restrictions.

Increased number of effective and improved chip evacuation.

Through coolant directed at the cutting edges of the insert, even in small diameters.
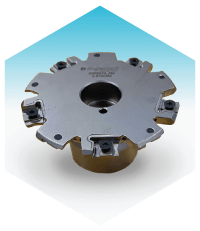
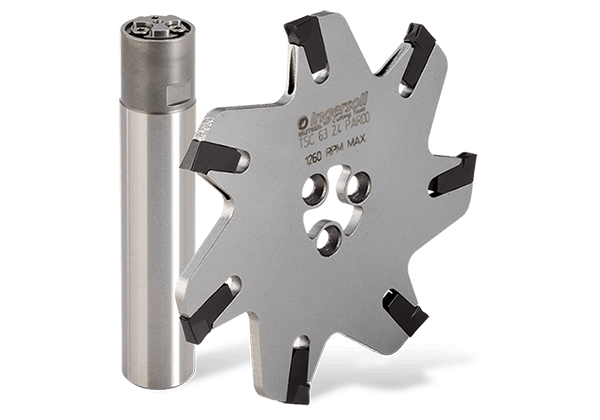
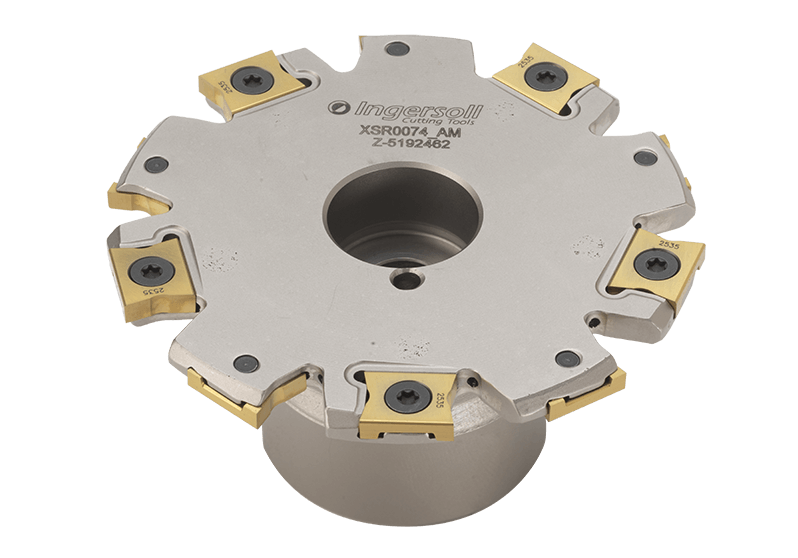
Our Products
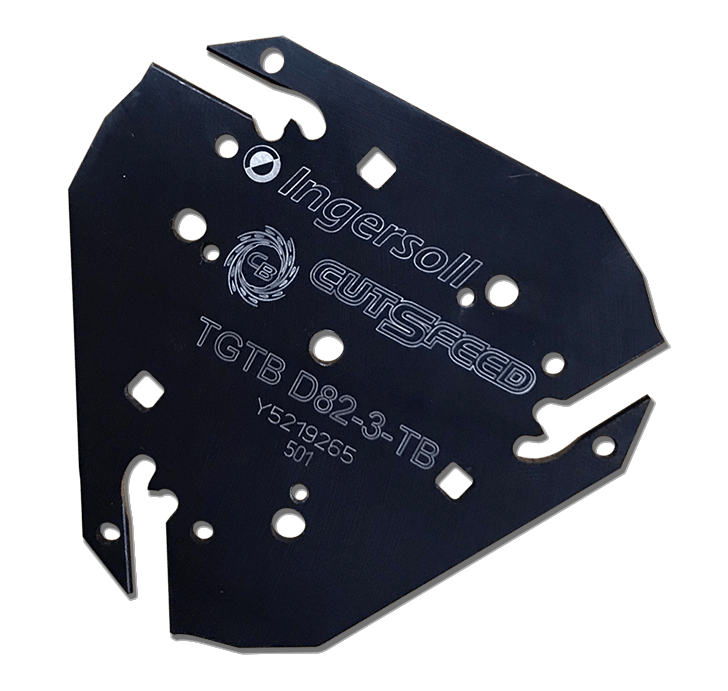
Slitters


Slitters

Slotters

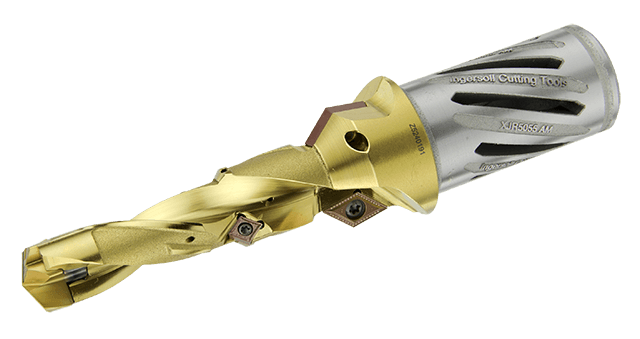
Drills

End Mills


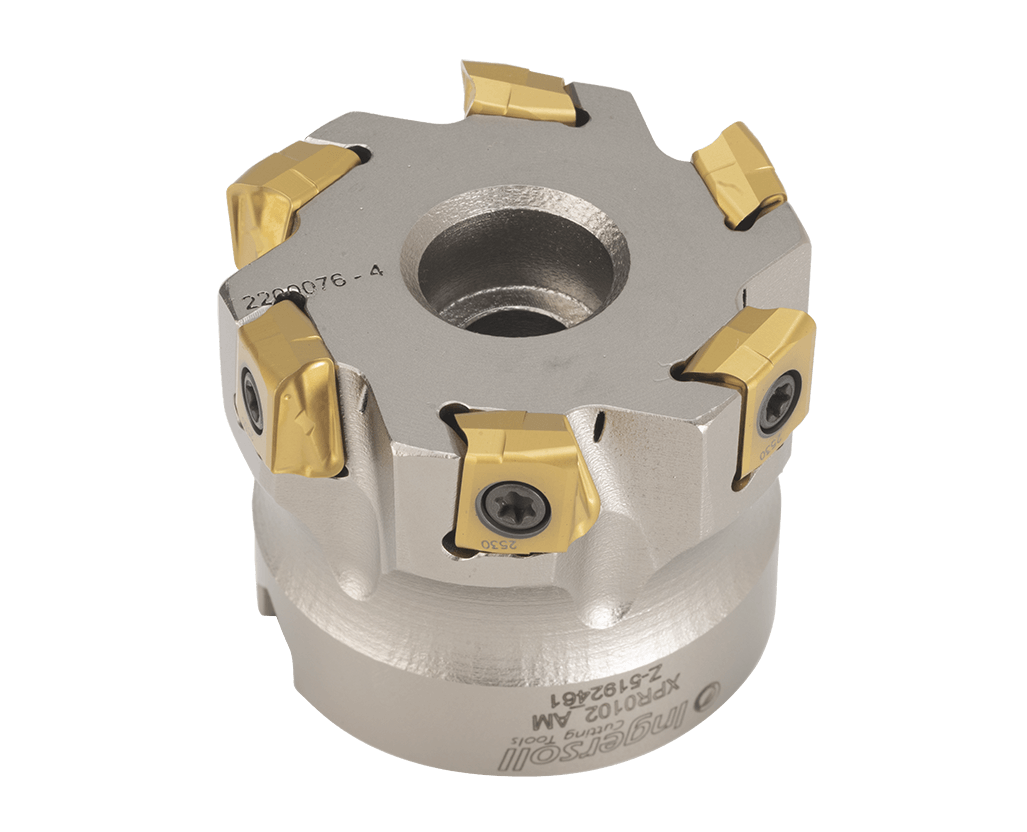
Shell Mills
Button Cutters

And More...